

Design a Pencil Monogram in Silhouette Studio + Free SVG & DXF files
It’s Thursday and that could only mean one thing. It’s freebie time. This week I have put together a tutorial on how to Design a Crossed Pencil Monogram In Silhouette Studio. It’s a fun one, and it doesn’t even take that long to do….once you know how.
This tutorial is perfect for your Back to School, end of year projects, or anyone who has a slight obsession with Pencils. I have one with pretty looking notebooks, I buy them and never write in them (anyway enough about me) there’s also a freebie you can download at the end of this tutorial.
If you want to stay up to date with my tutorials and freebies then please feel free to follow me on: Pinterest,Facebook or Instagram.
Now on to the tutorial….open Silhouette Studio as usual.
1; First, using the rounded rectangle tool, draw a rectangle to the approximate length and width you want your pencil design to be.

Use the knife tool to cut through the rectangle as shown in the below image. (Here you are creating the ‘eraser’ end of the pencil, and the metal component that holds the eraser)
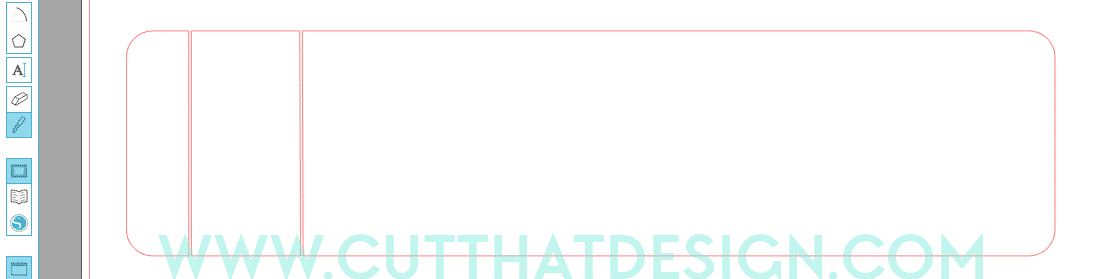
I’ve filled the rectangles in so I can get a better feel for the design.
Using the Knife tool again, cut the outer edge, as shown below. (I’ve done this as I want to have a ‘straight edge’ when I add the pencil tip.)

Use the Polygon tool to draw a triangle (drag the slider to 3).
Right click on the triangle and select convert to path.
Rotate and adjust the triangle to match the height of the pencil.


Use the knife tool again to cut a section of the top part of the triangle. (This is the pencil tip.)

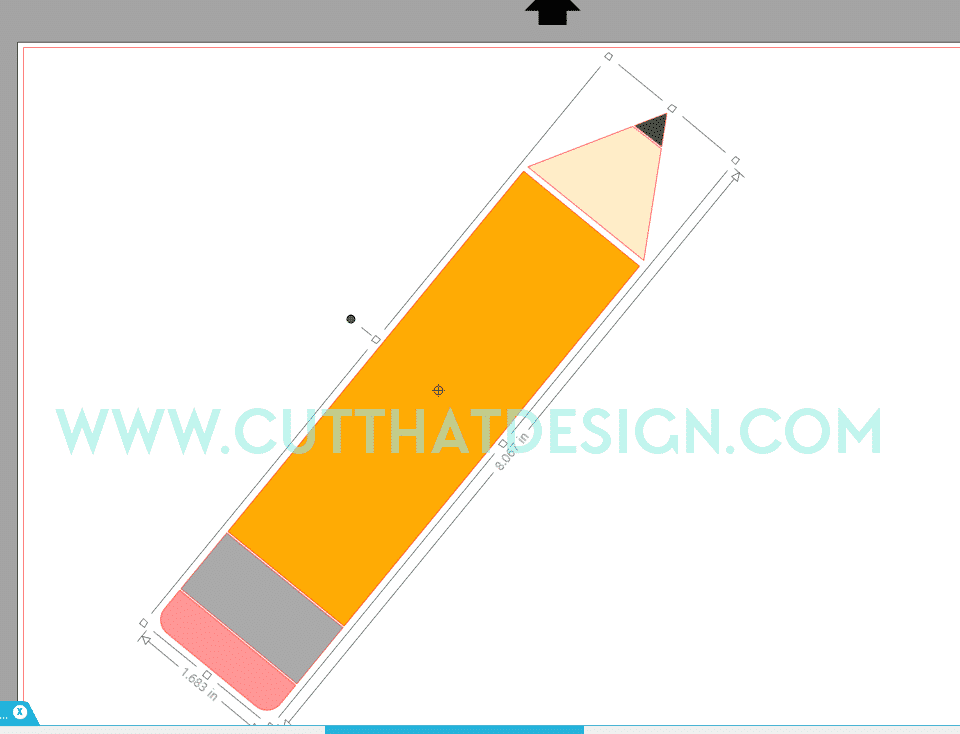
Here’s the completed pencil, now you can leave it like that if you don’t want to add a monogram.
You could even add a ‘shadow’ layer using the offset tool to add a little bit of dimension. Perfect if you’re cutting with Card.

Scroll on to see how to create a cross pencil monogram with your Silhouette Software.
2; Select all the pieces of your pencil rotate it at an angle, similar to the angle shown in the image below;
Next you need to mirror the image, select the pencil, go to Obect – Replicate – Mirror right.

Place one of the pencils on top of the other until you are happy with the placement.

Un group each pencil and select the inner parts of the pencil (The yellow parts in the image below)
Once you’ve selected both, click weld.

Draw a circle and place it in the middle of the newly formed ‘Crossed Pencils’ (Duplicate the circle and put it to one side)

Select the circle and the middle, welded, part of the pencil. Go to Object-Modify-Subtract.

Here’s the finished ready to cut design…..
….want to see another version of this design, then keep reading.

Select the circle you duplicated earlier, create an internal offset of about 0.10.
Select both the circles, right click and select ‘Make Compound Path’

Place the circle in the middle of the ‘Crossed Pencils), adjust the circle slightly so it overlaps the end parts of the cut out section. (See Image below)
Select the middle parts of the pencil and the circle and click weld.

Here’s the final welded monogram design.

You can now personalise with the monogram font of your choice.
The monogram alphabet used in the below designs is from my own collection and can be purchased from my ‘The Hungry JPEG’ store here:


Keep scrolling for the freebie link…..
This weeks Free SVG/DXF files are the below Crossed Pencil Monogram Designs. I design all my files in Adobe Illustrator where I then convert too SVG and DXF files. In my tutorials I like to show you how you can create similar Designs within the Silhouette Studio software. Files are for personal use only.


Thank you so much for reading, I really hope this post has inspired you to experiment with designing in your Silhouette Studio Software. Feel free to share your creations with me on Pinterest,Facebook or Instagram, I’d love to see ?
Happy Crafting
Vicky xx


