Slice and Weld a Pattern into a Shape in Cricut Design Space + Free Polka Dot Pattern Stencil – SVG & DXF File
This post is a follow on from my post: Design a US Flag Heart using the Slice Tool in Cricut Design Space + Free Patriotic US Flag Heart SVG & DXF it uses the same concept, only I am going to show you how to Slice and Weld a single pattern in Cricut Design Space, I am also being extra generous, in order for you to practice the tutorial below I have added the Polka Dot Stencil to this post as a free download.
Lets get started…..

Open and log in to Cricut Design Space as you normally would. Click on ‘Create New Project’
Open the stencil you want to use and the shape. (Don’t forget you can download our freebie pattern stencil to follow along). There are a few pattern stencils in the Cricut ‘Insert Images’ Option. I am using the star shape from the ‘Insert Shapes’ option.
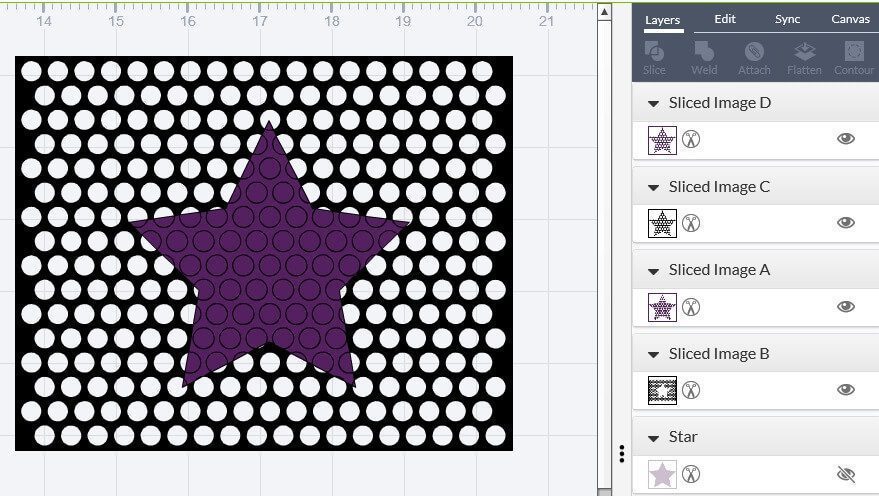
Duplicate the Star 3 more times.

Hide 3 of the stars by clicking on the ‘eye’ next to the shape in the layers panel.
Place the Stencil on top of the Star, if when you move the stencil and it’s behind the star, right click on the stencil and select ‘Move to Front’

Select both the Star and the Polka Dot Stencil. Click Slice. It should end up looking a little bit like this:
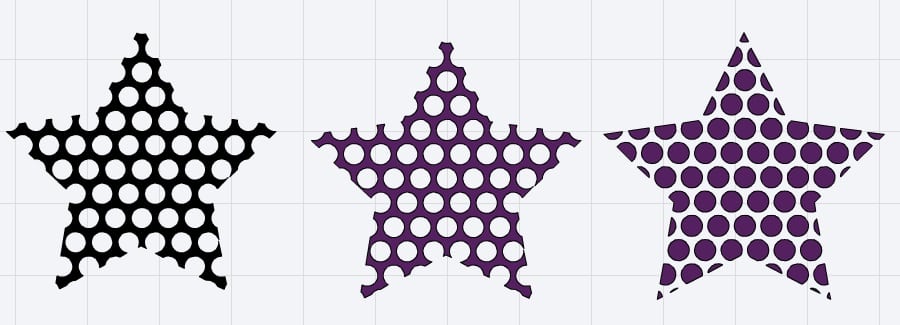
Click on and delete the excess Polka dot stencil from around the star, you will be left with the star shape. Click and drag the star, so each of the sliced parts are separated. See below image.
Now as you can see by my image, two of the sliced stars are duplicated, I am going to delete one of the duplicates, so that I’m left with two stars (I’ve kept the two purple stars). You can leave this as is and cut them on vinyl, however follow the next few steps to create a different style design.

Unhide one of the solid stars that were hidden earlier.

Place the solid star underneath the non-inverted polka dot star. (The one where the polka dots are coloured in).
Again, if the solid star is above the polka dot star, right click and select ‘Move Backward.’ – Also, the solid star needs to be a different colour to the Polka Dot star, otherwise when you place one on top of the other, it will blend in and look like a solid shape.
This is what the solid star looks like with the polka dot layered on top. (Group the Polka dot and solid star layers together)

If you want to follow along with the next step, hide the layered star we’ve just grouped.

Now i’m going to show you another method, where the star is just one layer but with an outline around it.
Un hide the last hidden solid star. Duplicate the star and place it on top of the other solid star. Click on the star, this will select the top layered star, press Shift-Alt, at the same time scale the star down. (The scale down button is situated to the bottom right of the bounding box around you selected shape, the one with the two arrows)
The gap between the scaled down star and the bigger star is going to act as an outline.
Select the two stars and click slice.

Once you’ve sliced, delete the middle parts of the shape, so you end up with something that looks like this – lets call this star outline:

Place the star outline shape that’s just been created and place it on top of the inversed Polka Dot Patterned Star. Position it so the pattern doesn’t overlap the star outline. Bring the polka dot star pattern forward for a better look if you need to.
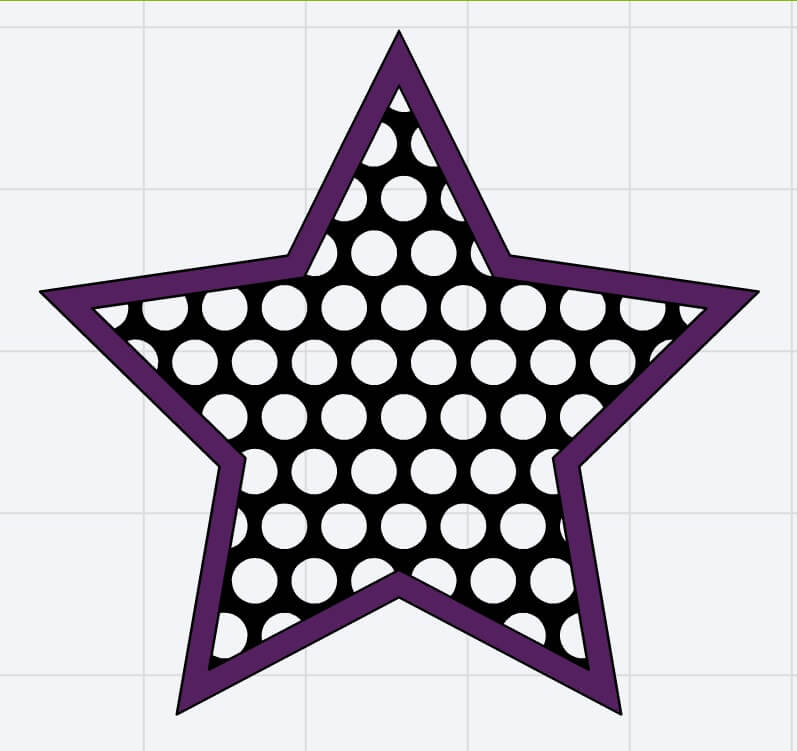
Now all that’s left to do is to select the two shapes and click weld.
Here’s the finished star!!

Now, normally I do a freebie on a Thursday, but to help you follow along with this guide I have included an extra freebie for you. The Polka Dot pattern that you see in Step 1 of this guide is available as a download link at the end of this post.
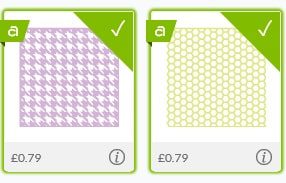
There are also some patterns in the Cricut Design Store, go to insert images and in the search box type in patterns. Here’s a few I found which you can use with this tutorial, and are available with the subscription.


Thank you so much for reading, I really hope this post has inspired you to experiment with creating patterns in Cricut Design Space. Feel free to share your creations with me on Pinterest,Facebook or Instagram, I’d love to see ?
Happy Crafting!
Vicky