How to make a Gift Tag Using the Pattern Fill Tool and Print and Cut in Silhouette Studio
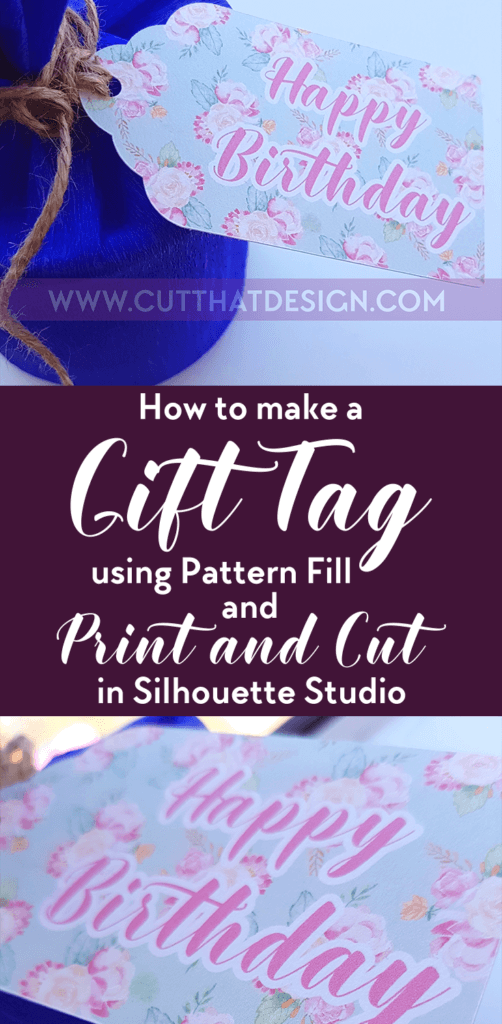
Hi there, it’s been a while since we’ve posted a tutorial (i’m noticing a bit of a pattern here, although on the flip side we have been providing you with some awesome files everyday!)
On that note, I’m so happy to bring you this tutorial today which has been kindly sponsored by Craftbundles.com.
July and August are really busy birthday months for me, and every year I tell myself I’ll make my own Gift Tags and I never do, so for this tutorial I am going to show you how to make a simple gift tag in Silhouette Studio, using design elements and fonts from The Dazzling Craft Bundle.


If you would like to follow along with this tutorial, I’ve included a Free Gift Tag Template at the end of this post, in both SVG and DXF, however I will add that the ‘Fill Pattern’ feature in Silhouette Studio is only available with the Designer Edition and above versions. However, you can use the DXF gift tag in the basic version of Silhouette Studio, to add a fill colour, perfect if you only have white card available.
Download the bundle and also the gift tag provided at the bottom of this post. Next, you will need to unzip(extract) the files, if you are unsure how to do this, check out our post on how to Unzip SVG Cutting Files.
1: First we are going to add the patterns to the Silhouette Studio Library. Once you have extracted and you have saved the files in your preferred location on your computer, click on the ‘Library’ Icon to the top right of Silhouette Studio. 
2: Navigate to the location you extracted The Dazzling Craft Bundle too. Locate the Spring Floral Digital Papers. As shown below. (Access the files via your computer and not the ‘File and open’ option in Silhouette Studio.)
Select all of the Digital Papers (you can choose just one if you would like, but I wanted to have a little play around to see what would work best with my project.)

Now with all the patterns selected, click and drag them in to the ‘Patterns’ folder in the Silhouette Studio Library as shown below:
3: Next up, if you haven’t already, download and extract the Gift Tag Template provided below. Open the tag in Silhouette Studio (File, Open, Navigate to where you’ve saved the tag, double click)
As shown below, click on the fill colour icon to the far right of Studio. A dialogue box will pop up. Click on the ‘Polka Dot’ square as shown below. This will open the ‘Pattern Fill’ window. 
Scroll down to the bottom of the patterns, there you will find the patterns we just added to the library.

With the tag selected (the grey bounding box with the green circle above it indicates that the tag is selected) Click on the the pattern you would like to use for your project (have a little play around, see which best fits, I sure did, I’m too indecisive!) Of course, you could make a set and use all the patterns if you wish. The tag will now be filled in with your chosen pattern.
I’ve also Rotated the tag as shown below, as I will be adding text to it this way. (To rotate click on object and rotate).

4: I’m using the font Mutiara to add text to my Gift Tag. Click on the text tool, type out your text, you can change the text by searching through the font tool to the top of Silhouette Studio.
Add some colour to your text by using the Fill Colour Tool as shown below. (click on the green box instead of the polka dot box.)

5: Apply an offset to your text, this will add depth to the text, and make it less ‘lost’ in the patterned background. The offset button can be found at the top of the Silhouette Studio Screen, in the shape of a star. A dialogue box will pop up, as shown below, click the ‘offset’ option and drag the ‘Distance’ bar to your preferred offset.
If like me you’ve placed your text on top of your tag already (i’ve done this because I want to colour my offset in white) keep the offset text selected, fill in the offset using the fill colour tool.
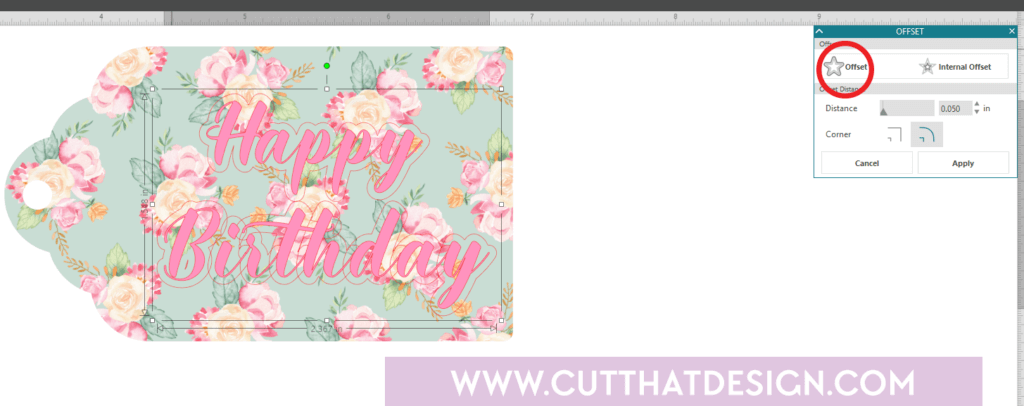
6: As we are going to be printing the tag, whenever you do print then cut, ensure that all the elements (in this case the tag and wording are grouped together) You will need to select all, Right Click on the Tag, Select Group. You’ll then have something that looks like this:

7: Now to set up your page for printing. Click on the ‘Page Setup Tab’ to the top right of Studio. Change the size to: Current Printer. 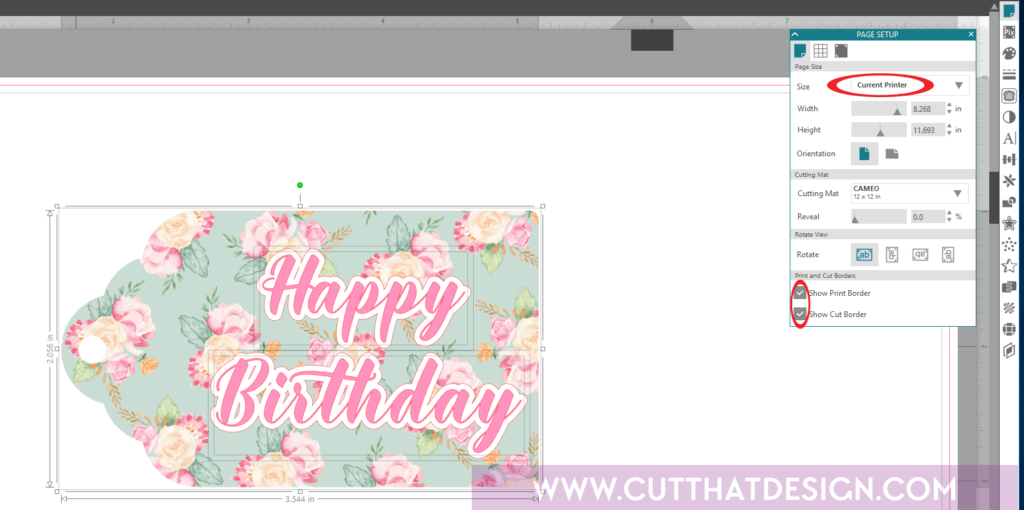
Next, click on the blue tab in the page setup dialogue box (circle in the below image). Go to style and choose ‘Type 1’ from the dropdown box, as shown below.

You will notice that the registration marks and hatch markings have been added, ensure that your design is within these makings and does not overlap them or your design wont cut once printed.
Your design is now ready to be printed, click on the ‘Send to Printer’ Icon in Silhouette Studio. (Circled below.) Adjust the settings accordingly as per your own printer.

8: Next we are going to cut the tag. Load your Silhouette machine as usual with your printed design.
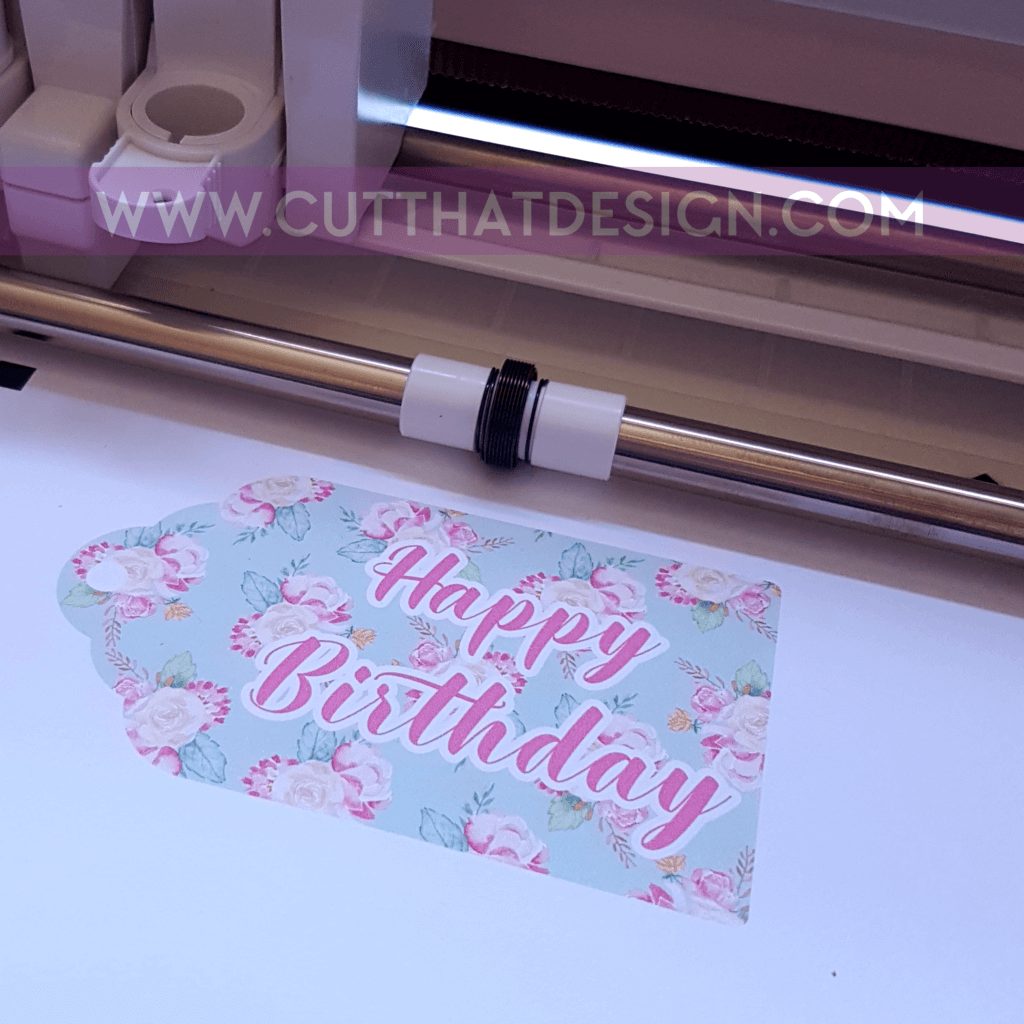
The next steps are pretty self explanatory, that’s the great thing about the new version of Silhouette Studio. It guidess you each step of the way.
Select the material you’re cutting with, in this case I’m using plain card stock. Click Next.

Add your cut settings. We’re working with just one tool, so the ‘Tool 1’ section is the column we need to change the cut settings. I’m using the Auto blade, if you are using a different blade, change the blade from the drop down box next to ‘Tool’.
Also, ensure that the cut settings are set to ‘Cut Edge‘, if you use ‘Cut’ this will also cut the wording out which we don’t want.
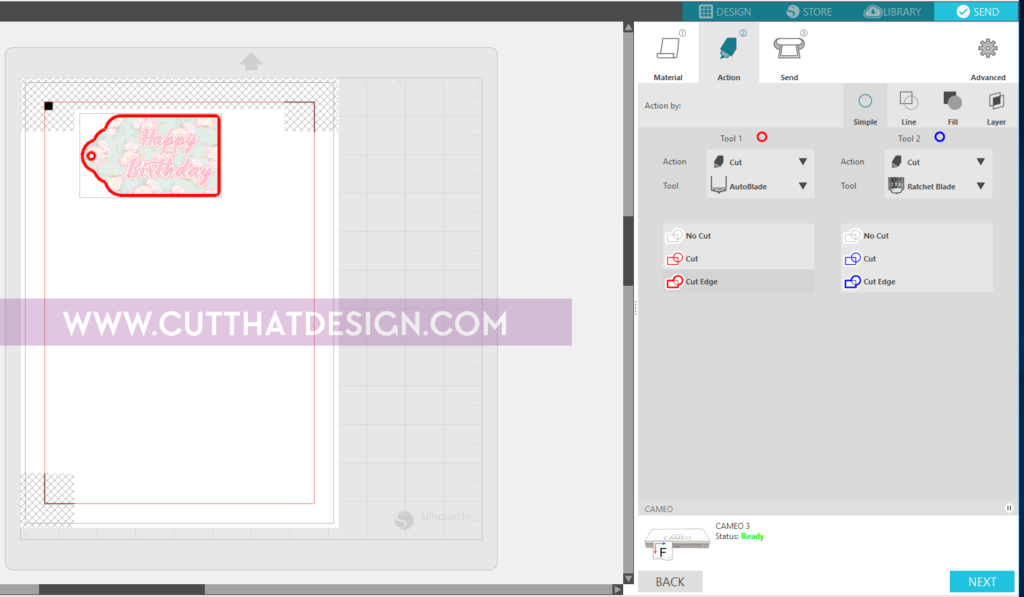
If you haven’t already, load your Silhouette, and click on Start, as shown below. Your machine will start cutting.
If for some reason Studio can’t connect to your machine, I would suggest saving your work in the library (File, Save as, Save to Library), exit out of Silhouette Studio, and open it up again. That seems to work for me when it’s being a little temperamental.

Here we have the finished Gift Tag, the print then cut feature can seem a bit daunting at times, but once you get going with it, you wont look back. Try it today!

The font and the Digital Paper used are both available in The Dazzling Craft bundle from Craftbundles.com.
For $22 you will be getting $330 worth of SVG files, digital papers and watercolour designs, and 19 awesome fonts. The great thing about the bundles from Craft Bundles is that they are all high quality cut files, designs and fonts. You won’t be disappointed. Not forgetting a full commercial license is included in that amazing price.
Just look at how cute these Watercolour Sleeping Animals are, these are perfect for print and cut:
This bundle will keep you going with new designs until the end of this year, there’s designs for Halloween, Fall and Christmas plus many more. Here are a few of my favourite cut files:
A stunning family tree, with 14 spaces to add names or some lovely words describing your family.
Camping is definitely a sport, especially when trying to get that tent up!
I absolutely adore this one, I’m going to definitely be cutting this one later in the year for my little boy. It’ll go nicely in a box frame. I love the added ribbon so it can be personalised!

I think I would like to visit this bakery! Would you?
Click on the box below to download your FREE Gift Tag:
Thank you so much for reading, I hope the tutorial has inspired you to experiment with the print then cut feature. Any questions, or ideas of what tutorials you’d like to see on the blog in the future, pop it in the comments below or contact me at blog@cutthatdesign.com.
Happy Crafting
Vicky x


