Halloween Door Décor using Free Fonts
Halloween Door Décor using Free Fonts
This post is sponsored by Font Bundles, all comments and opinions are my own.

Hey there!
Halloween is upon us yet again, and I know this year things are going to be a little bit different, but let’s not let that stop us from getting in to the Halloween spirit!
Now, I’m not usually one for decorating my door at Halloween, however, seeing as this year we won’t be taking our son Trick or Treating, we’ll just have some fun at home instead, and decorate the home, inside and out!!
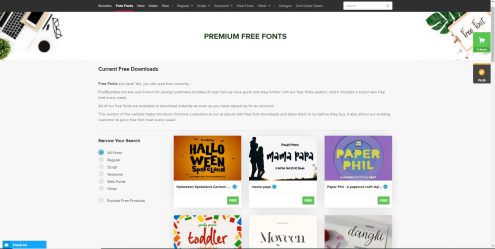
For this project I perused the free fonts section at FontBundles.net, looking for some Halloween style fonts!
Font Bundles have a vast array of fonts on their marketplace both paid and free, whether you’re looking for a script font or a display font or anything in between, they’re sure to have a font suitable for your next project.
That being said, you can imagine my dilemma when it came to choosing fonts.
Let’s just say it took a while!
As well as finding fonts, I spent a good while on the Hobbycraft website (a UK based Craft store….it’s amazing!!), doing some online craft shopping based on what signs and décor I was going to make.
It was a hard task, but some ones got to do it!
Please Note: You will need a Silhouette or other craft cutting machine to complete the following creations, oh and self-adhesive vinyl!
Keep reading to see what fonts and craft goodies I used to create my Halloween Door Décor!
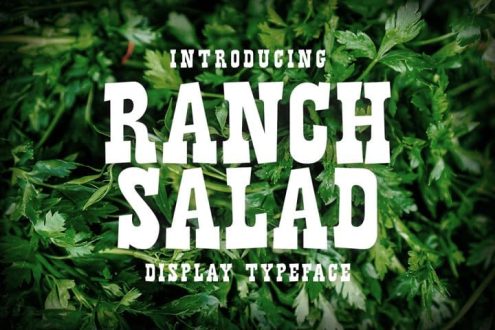
Boo Bat Foam Sign | Ranch Salad Font
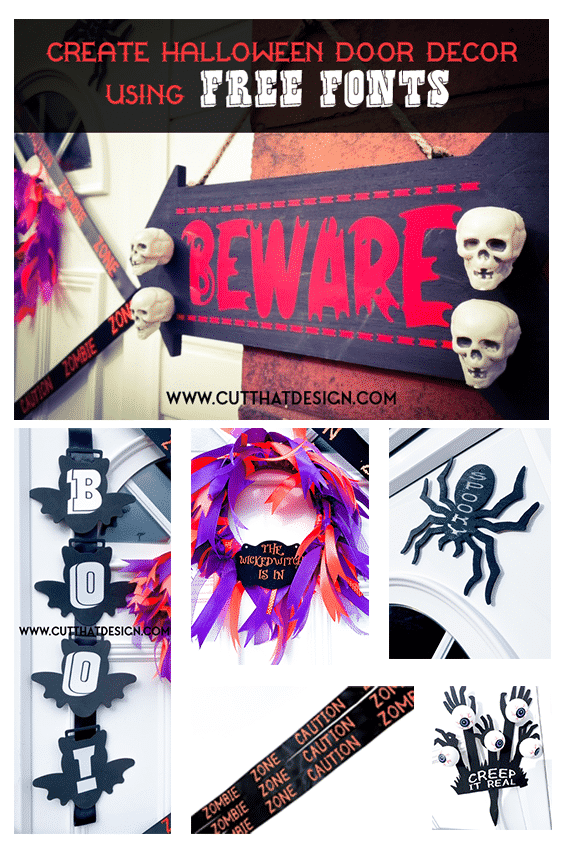
For this creation, I cut out some white self adhesive vinyl on my Silhouette, using the Free Ranch Salad Font. These four foam bats came in a pack, once I applied the Self Adhesive vinyl to the foam bats, I used some 36mm ribbon and glued them together with a hot glue gun.
Creep it Real Wooden Sign | Caution Zombie Zone Banner | Creepy Forest Font
As soon as I saw this spooky looking font I knew I had to use this for one of my creations. I love it’s spookiness so much that I used it for two.
I painted the ‘Creep it Real’ sign in black and left it to dry for 24 hours. I cut out the phrase on my Silhouette and attached it to the sign once it was dry. I wasn’t overly happy with it just being the hands, so I added the eye balls with my glue gun to make it extra creepy and spooky.
With the same Creepy Forest font, I took some 36mm ribbon and added some Permanent Self Adhesive vinyl in orange, I’ve never added vinyl to ribbon before so I wasn’t sure if it would stick! I did want to try using HTV however I haven’t got the colour I wanted in stock.
However, I had no need to worry as the Self-Adhesive vinyl stuck very well, and has lasted overnight outside on my front door, amidst the wonderful British weather (Rain, Rain and more Rain!)!
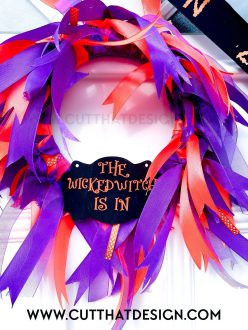
The Wicked Witch is in Halloween Wreath | Eat your Vegetables Font
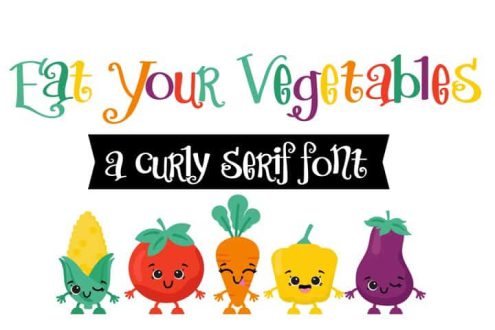
The Wicked Witch is in, is my favourite Halloween phrase! I used the Free Eat your Vegetables font for this one, although it looks cute on the outside I saw the potential for it to be a spooky font too. The font reminds me of when the wicked witch disguises herself as a sweet grandma to lure you in!
Now this design was super fun to make! I purchased a wooden florist round, and added some Purple and Orange ribbon, I then painted a small wooden sign blank in black, once dry I attached this to the wooden round with my glue gun. Next up, I cut the quote in vinyl on my Silhouette machine, and added it to the small wooden sign I painted!
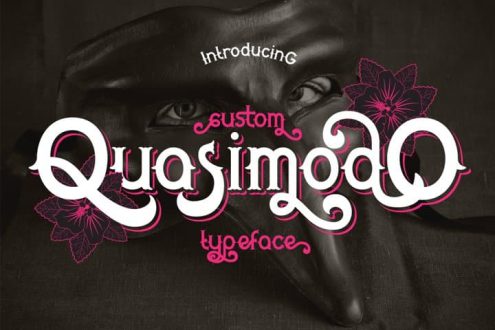
Spooky Wood Spider Sign | Quasimodo Font
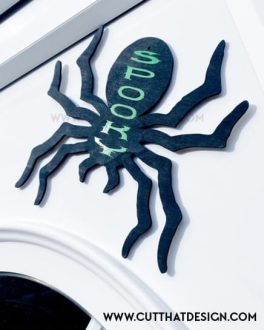
I’m not a big fan of spiders myself, however I thought you can’t have Halloween without a spider decoration! Can you?
I took this Wooden Spider from the crafty goodies I purchased, painted it black, and once it was dry of course, I added some Permanent Green Self-Adhesive Vinyl, using the Free Quasimodo Font.
Beware Wooden Arrow Sign | Midnight Show Font

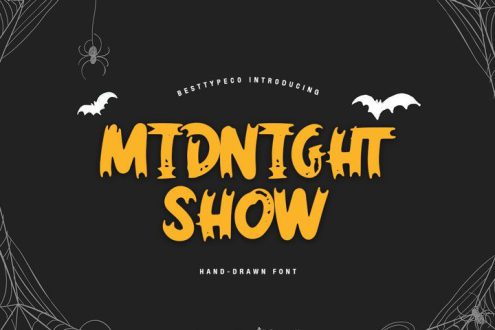
I used the Free Midnight Show Font to create this sign, it’s perfect as I feel like the letters themselves have a ‘melting’ effect, which is perfect for Halloween. Again, I cut some Permanent Self-adhesive vinyl with my Silhouette machine, this time in Red. I painted the arrow in black, left it to dry, and added the vinyl. The accents above and below ‘Beware’ are the hyphen from the same font. I then added some scary skulls to the sign with my glue gun.
The Finishing Touch | Adding the Signs to my Front Door
To stick the signs to my door I used some Outdoor Foam Pads from Sellotape. I added the Beware sign to a nail that was sticking out of my wall, I also added some foam pads to keep it extra secure!

So there we have it, I really enjoyed working on this project, it was so much fun to do. I think I will have to decorate my door for Halloween every year!
I hope this post has inspired you to get creative using Free Fonts from Fontbundles.net. Don’t forget to check out their paid fonts too!
Happy crafting and Happy Halloween!
Vicky x


